What are the Benefits of Using NVLink for 3D Rendering?
Hey there, fellow 3D artists and architectural visualization enthusiasts! If you're like me, you understand the magic that happens when you turn your architectural designs into stunning 3D renders. Creating immersive visualizations that bring spaces to life is both an art and a science, and it demands a lot from our hardware. That's where NVLink comes into play.
In this article, I'm going to share my experiences as a 3D artist, specializing in architectural visualization, and explain why you should seriously consider harnessing the power of NVLink for your 3D rendering endeavors.
Understanding NVLink
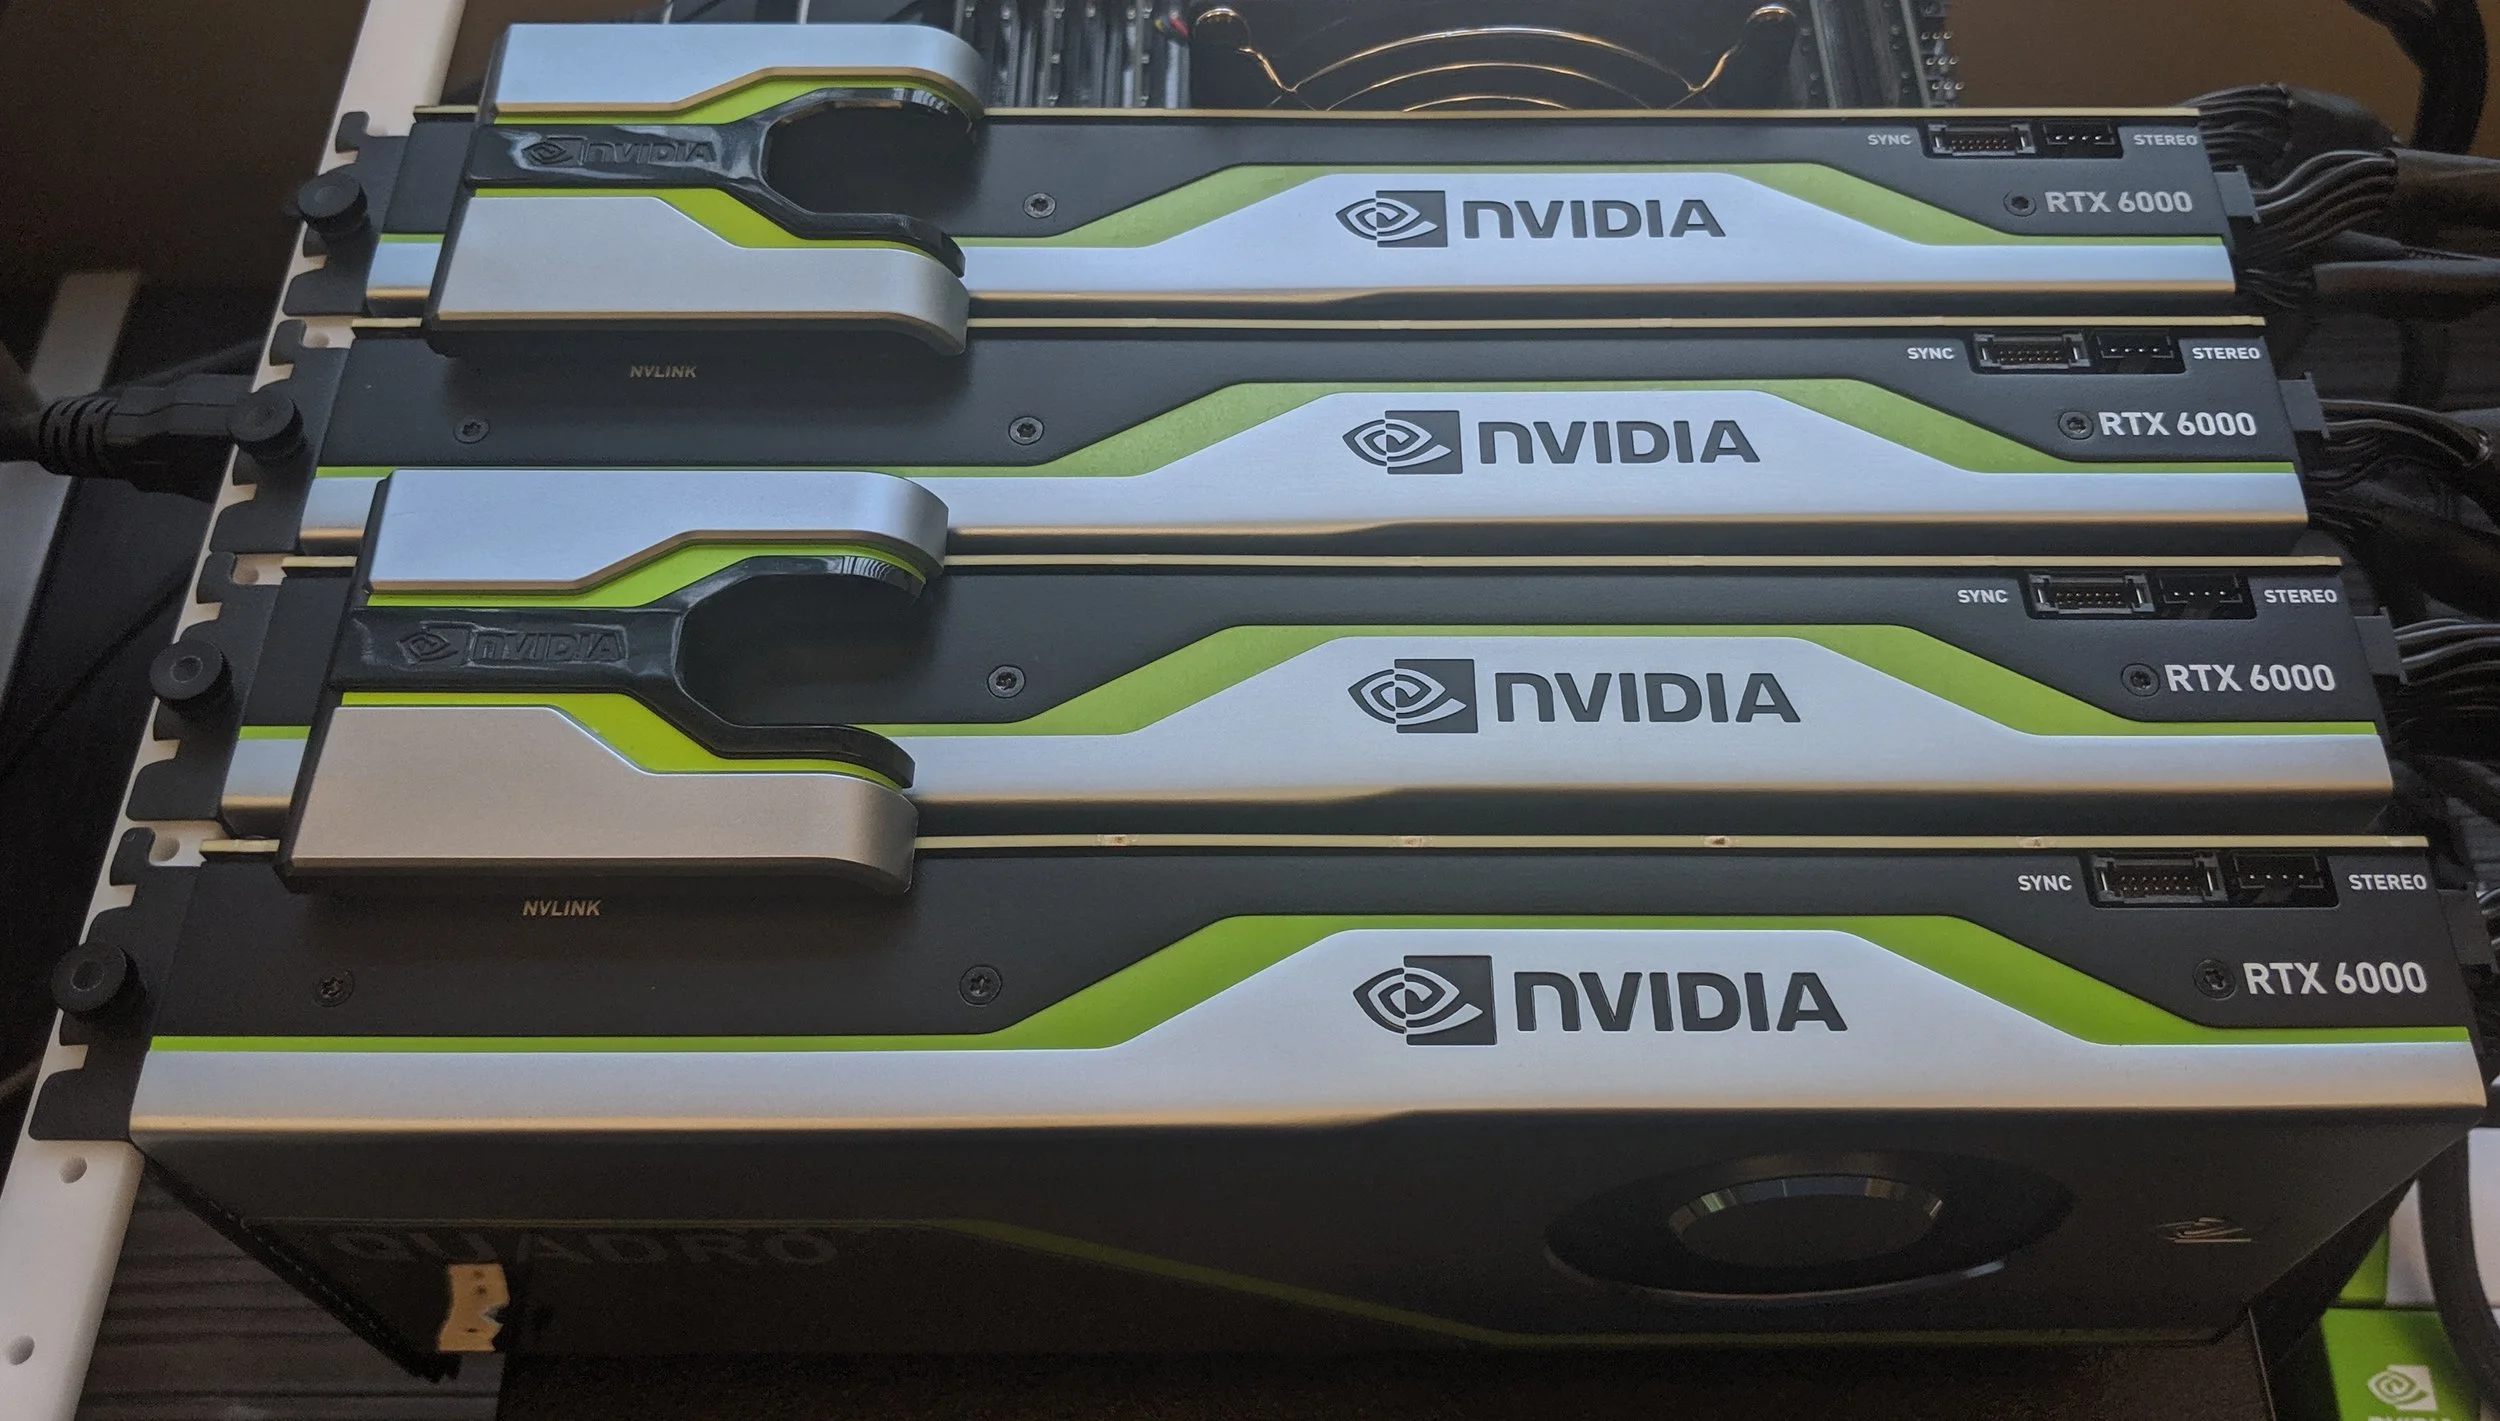
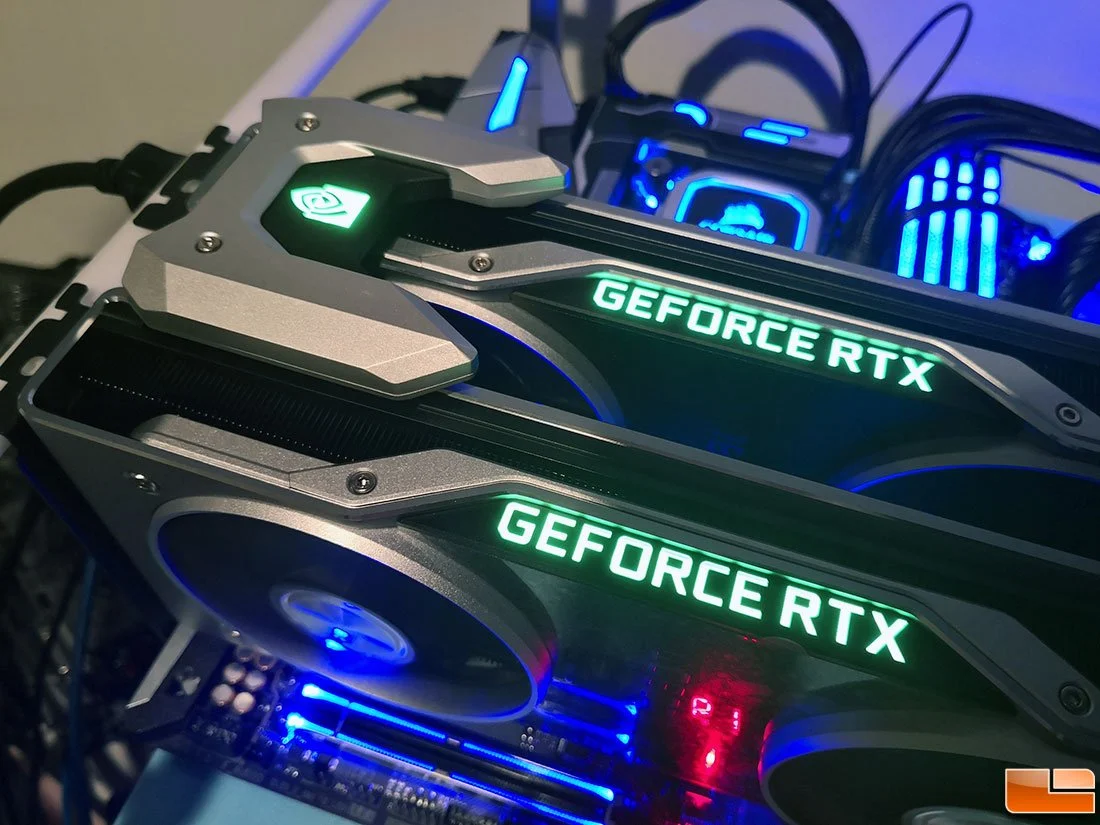
Before we dive into the benefits, let's get a handle on what NVLink is and why it matters. NVLink is a high-speed interconnect technology developed by NVIDIA, designed to connect multiple GPUs (Graphics Processing Units) together in a way that allows them to work as one cohesive unit. It's like combining the strengths of multiple talented artists to create a masterpiece.
NVLink vs. Previous GPU Connection Technologies
Now, you might wonder, "Isn't this just like SLI?" Well, yes and no. NVLink is the evolution of SLI (Scalable Link Interface), but it's more versatile and efficient. It's not just about gaming; NVLink opens up exciting possibilities for 3D rendering and other professional applications.
It's Not Just for Gamers
Let's clear up a misconception right away: NVLink is not exclusive to gamers. As 3D artists, we're in the same boat as gamers when it comes to demanding graphics tasks. NVLink can be a game-changer for us too, pun intended.
Unleashing the Power of Multiple GPUs
Alright, let's get to the juicy part – how NVLink turbocharges your 3D rendering.
Increased Rendering Speed
Picture this: You've spent hours crafting a highly detailed architectural model, and now it's time to render it. With NVLink, the rendering process becomes lightning-fast. Multiple GPUs work in harmony, dividing the rendering workload, and delivering results that would make your single-GPU setup look sluggish.
Handling Larger Scene Complexities
Architectural projects often involve intricate details, from intricate facades to lush interior decor. When you're working with high-resolution textures, complex lighting scenarios, and a plethora of 3D assets, the scene complexity can be overwhelming. NVLink's power allows you to tackle massive projects with ease, maintaining smooth performance even when your scene pushes the boundaries.
Real-time Interactivity
One of the joys of architectural visualization is the ability to interact with your design in real-time. You want to explore your 3D environment as if you were there. NVLink facilitates this by ensuring that your real-time previews are smooth and responsive. This is especially important when presenting your work to clients who want to experience the space before it's built.
Faster Iterations
Now, here's a personal anecdote. I once worked on a project where the client requested several design iterations within a tight deadline. With NVLink, I could render different design options simultaneously, significantly speeding up the process. This allowed us to meet the client's needs and explore various design directions efficiently.
Scaling Performance for Large Projects
Architects and designers often dream big, and that means big projects. Imagine you're working on a sprawling master plan for a new development, complete with multiple buildings, landscapes, and intricate details. Your standard single-GPU setup might struggle, but with NVLink, you can effortlessly scale your rendering power. Adding more GPUs means your hardware can keep up with your grand visions.
Improved Workflow Efficiency
In the fast-paced world of architectural visualization, time is precious. NVLink contributes to a more efficient workflow in several ways:
Faster Asset Loading
When you're dealing with vast textures and complex 3D models, loading times can become a bottleneck. NVLink's high bandwidth ensures that textures and geometry load in the blink of an eye. No more twiddling your thumbs while waiting for assets to load.
Simultaneous Tasks
3D rendering often involves more than just rendering. You might be modeling, texturing, and post-processing simultaneously. NVLink allows you to run multiple tasks or rendering processes in the background without slowing down your primary rendering job. It's like having a multitasking superpower.
Multitasking Capability
Here's another personal story. I frequently find myself working on architectural animations while also rendering high-resolution images. NVLink makes this a breeze. I can render frames of the animation while continuing to tweak the scene and camera angles. The result? A significant time saver and a smoother workflow.
Cost-Efficiency and Future-Proofing
Now, let's talk about the practical side of things—budgets and planning for the future.
Cost Considerations
Yes, setting up an NVLink configuration might seem like a significant investment. However, when you weigh the performance benefits against the cost of a single, ultra-high-end GPU, the value becomes apparent. You get more rendering power for your money, and it's a versatile investment that will serve you well across various projects.
Potential for Future Optimizations
Technology never stops evolving. NVLink's potential isn't limited to its current capabilities. As software developers catch up and optimize their applications for multi-GPU setups, your investment in NVLink becomes even more valuable. It's like future-proofing your rendering rig.
Compatibility and Setup
Considering NVLink? Here are some practical tips on getting started.
Compatible GPUs and Motherboards
Before diving in, make sure your GPUs support NVLink. Check NVIDIA's official website for a list of compatible GPUs. Additionally, ensure your motherboard is NVLink-capable. Not all motherboards support this technology, so double-check the specifications.
Driver and Software Requirements
Keeping your GPU drivers up-to-date is crucial for optimal performance. Visit NVIDIA's website regularly to download the latest drivers. Also, make sure your rendering software is compatible with NVLink setups. Software updates often include optimizations for multi-GPU configurations.
Configuration Tips
Configuring NVLink for 3D rendering is typically straightforward. Follow the manufacturer's guidelines for installing the NVLink bridge connector between your GPUs. Once that's done, ensure that NVLink is enabled in your system's BIOS settings. Your system should recognize the connected GPUs, and you'll be ready to harness their combined power.
Real-World Examples
To drive home the benefits of NVLink, let me share a few real-world examples from my own experiences.
The Large-Scale Residential Complex
I once had the opportunity to work on a project involving a vast residential complex. The client needed realistic visualizations for marketing purposes. With NVLink, I could handle the enormous scene without sacrificing rendering quality or speed. The ability to explore every nook and cranny of the complex in real-time was a game-changer during client presentations.
The Tight-Deadline Office Renovation
Another project had me revamping an office space on a tight schedule. The client wanted multiple design options to choose from. NVLink allowed me to render different design iterations simultaneously, saving me precious time. I could also make on-the-fly adjustments during client meetings, impressing them with the flexibility of the design process.


